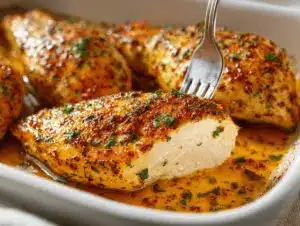
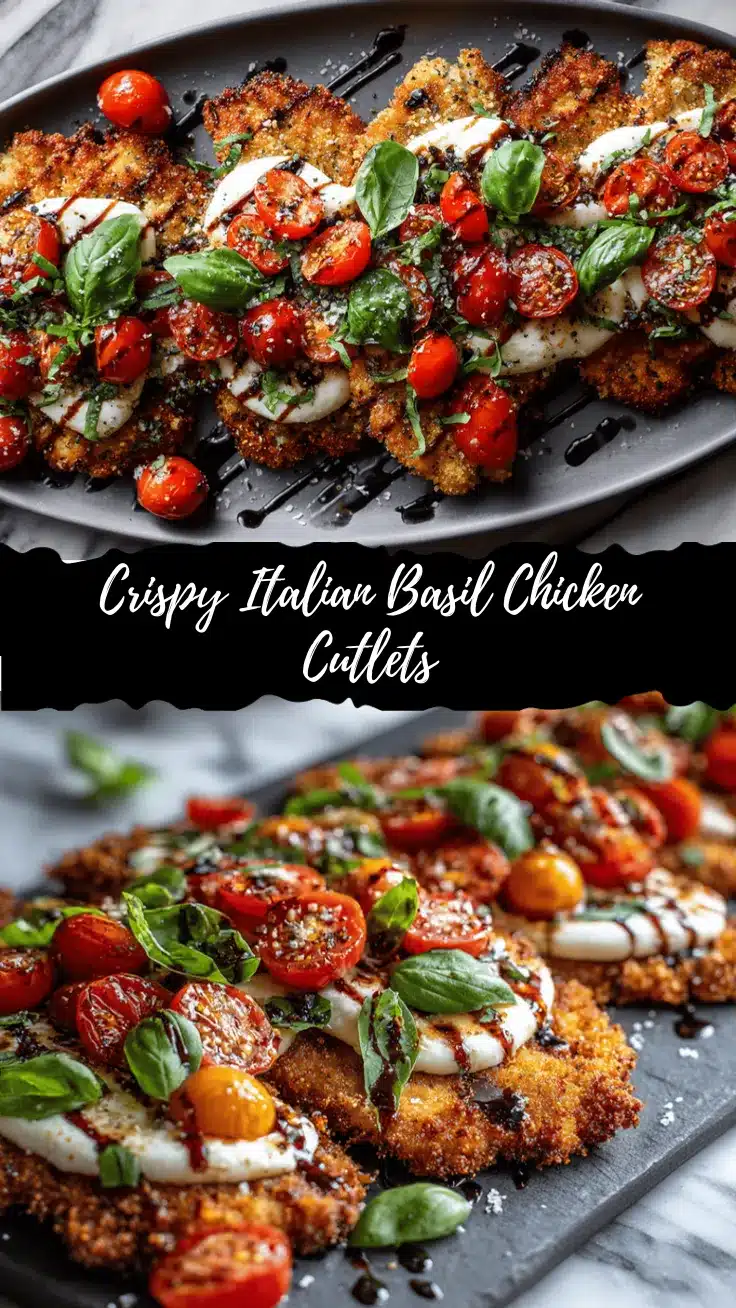
The sizzle when these Italian basil chicken cutlets hit the pan is my favorite kitchen soundtrack. The aroma of fresh basil mingling with golden breadcrumbs always has my family wandering into the kitchen, asking “What smells so good?” Honestly, there’s nothing quite like the comfort of a homemade crispy chicken cutlet, especially when it’s packed with the herby brightness of basil and a whisper of garlic. I stumbled onto this recipe on a rainy night when I wanted something quick, but not boring. Let’s face it—sometimes you just crave that classic Italian flavor without ordering takeout.
Over the years, I’ve tweaked and tested this recipe dozens of times, trying everything from air-frying to pan-searing. As a busy parent and life-long food lover, I know the magic of a dinner that’s both easy and impressive. These Italian basil chicken cutlets check every box: they’re juicy inside, shatteringly crisp outside, and absolutely bursting with flavor. Whether you’re looking for a weeknight hero, a cozy Sunday supper, or a crowd-pleaser for picky eaters, this dish is for you. Plus, you’ll love how adaptable it is—swap in gluten-free breadcrumbs, layer on fresh mozzarella, or tuck the cutlets into a crusty sandwich. It’s comfort food, Italian-style, and it never goes out of style.
Get ready to make the Italian basil chicken cutlets that’ll have your friends asking for the recipe. I can’t wait to share all my tips (and a few kitchen mishaps) so you can skip the trial and error. Grab your basil and let’s get cooking!
Why You’ll Love This Italian Basil Chicken Cutlets Recipe
- Quick & Easy: You’ll have dinner on the table in about 30 minutes—seriously! Perfect for those nights when you’re running late or just need something fast that everyone will love.
- Simple Ingredients: Nothing fancy required. You probably have most of what you need: chicken breasts, breadcrumbs, eggs, Parmesan, and a big handful of fresh basil.
- Perfect for Any Occasion: These cutlets are just as at home on a relaxed weeknight as they are at a family get-together. They’re my go-to for potlucks, Sunday dinners, and even the occasional picnic.
- Crowd-Pleaser: Kids gobble them up (even my pickiest eater asks for seconds), but adults love the complex flavor from the basil and Parmesan.
- Unbelievably Delicious: Crisp, golden crust—tender, juicy chicken—herby, cheesy flavor. Need I say more?
What sets these Italian basil chicken cutlets apart is the way the fresh basil is mixed right into the crunchy coating. Most recipes just sprinkle herbs on top, but here, basil is truly part of the bite. After years of experimenting, I discovered that pounding the chicken thin gives it that restaurant-quality tenderness, while using a mix of panko and regular breadcrumbs makes the crust extra light and crunchy. Sometimes, I even toss in a little lemon zest for a fresh twist—so good!
This recipe isn’t just food—it’s a little celebration on a plate. I’ve brought these cutlets to new parents, served them at birthday parties, and whipped them up for romantic dinners (with a glass of chilled Pinot Grigio—highly recommend). There’s something about that first bite—the crunch, the burst of basil, the cozy Italian comfort—that makes you pause and smile. It’s simple, satisfying, and just special enough to feel like you made an effort, even if you didn’t spend all day in the kitchen.
What Ingredients You Will Need
This recipe uses simple, wholesome ingredients that come together in the most delicious way. If you cook Italian food even occasionally, you’ll probably have most of these on hand. Here’s what you’ll need for my favorite Italian basil chicken cutlets:
- Chicken Breasts, boneless and skinless (about 1.5 lbs/680g)—slice in half horizontally for thinner cutlets
- Salt & Black Pepper—to season the chicken well
- All-Purpose Flour (about 1/2 cup/60g)—for dredging, helps the coating stick
- Eggs (2 large)—beaten, for dipping
- Panko Breadcrumbs (1 cup/60g)—super crisp texture
- Italian-Style Breadcrumbs (1 cup/80g)—for flavor and extra crunch
- Fresh Basil Leaves (1/2 cup, packed/15g), finely chopped—this is the flavor star!
- Freshly Grated Parmesan Cheese (1/3 cup/30g)—adds nutty, salty depth
- Garlic Powder (1 teaspoon/3g)—for a gentle savory note
- Olive Oil (about 1/3 cup/80ml)—for pan-frying, use extra-virgin if you can
- Lemon Wedges, for serving—brightens up each bite
Ingredient tips and swaps:
- If you’re gluten-free, use almond flour for dredging and gluten-free breadcrumbs (I like Ian’s brand).
- No fresh basil? Dried basil works in a pinch (use half the amount), but honestly, the flavor isn’t quite the same.
- Don’t have Parmesan? Pecorino Romano is a great substitute, just a tad saltier.
- If you love spice, add a pinch of red pepper flakes to the breadcrumb mix. For dairy-free, skip the cheese completely—the cutlets are still crisp and tasty.
- Chicken thighs can be used for a juicier result, but they’ll need an extra minute or two in the pan.
I’ve tried fancy imported Parm and bargain brands—honestly, freshly grated cheese (not the pre-shredded stuff) makes a difference in flavor and helps the coating stick. For basil, I grow my own in the summer and use whatever looks happiest that week. In the winter, store-bought basil works just fine—just choose leaves that are deep green and not wilting.
Equipment Needed
- Large Skillet or Frying Pan: Non-stick or stainless steel both work; I prefer a 12-inch for space.
- Meat Mallet or Rolling Pin: For pounding chicken thin (a heavy skillet works in a pinch).
- Shallow Bowls: Three, for dredging—one each for flour, eggs, and breadcrumb mixture.
- Chef’s Knife & Cutting Board: For slicing chicken and chopping basil.
- Tongs: To flip cutlets easily and safely.
- Paper Towels: For blotting chicken dry and draining after frying.
- Instant-Read Thermometer (optional): Helps check doneness (should be 165°F/74°C inside).
If you don’t own a meat mallet (mine was a thrift store find), just slip the chicken between two sheets of plastic wrap and tap gently with a rolling pin or even a wine bottle. Stainless steel pans work great for browning, but if you’re worried about sticking, go with non-stick. I’ve fried cutlets in cast iron, too—just give it a good preheat and use enough oil. For cleanup, soak the bowls right away—breadcrumb crusts are stubborn!
How to Make Italian Basil Chicken Cutlets
- Prep the Chicken: Place each chicken breast on a cutting board. With your hand flat on top, carefully slice horizontally to create two thin cutlets. Pat dry with paper towels—this helps the coating stick. Season both sides with salt and pepper.
- Pound Thin: Cover the chicken pieces with plastic wrap and gently pound to about 1/3-inch (8mm) thickness. This step is key for tender, evenly cooked cutlets. It takes about 3 minutes for a whole batch.
- Set Up Your Dredging Station: In one shallow bowl, add the flour. In a second bowl, beat the eggs until smooth. In a third bowl, mix together the panko, Italian breadcrumbs, chopped fresh basil, Parmesan, and garlic powder. Stir well to combine. (If your basil is extra wet, blot it with a paper towel before adding—too much moisture can make the coating soggy.)
- Dredge the Chicken: Working one at a time, coat each cutlet lightly in flour, tapping off the excess. Dip into the beaten eggs, then press firmly into the breadcrumb mixture, ensuring both sides are well coated. Place finished cutlets on a plate and repeat. If you notice bare spots, press a little extra coating on with your fingers.
- Heat the Oil: Pour the olive oil into your skillet (should cover the bottom in a thin layer) and heat over medium to medium-high until shimmering—about 2-3 minutes. To test, drop in a breadcrumb; it should sizzle right away.
- Cook the Cutlets: Working in batches to avoid crowding, lay the cutlets in the hot oil. Fry 2-3 minutes per side, or until golden brown and crisp. If using a thermometer, the center should read 165°F (74°C). Adjust the heat if the crumbs are browning too quickly. Transfer finished cutlets to a paper towel-lined plate. Sprinkle lightly with salt while hot for extra flavor.
- Repeat: Continue with remaining cutlets, adding a bit more oil if needed. If the oil gets too dark, wipe out the pan between batches.
- Serve: Arrange cutlets on a platter, scatter with extra basil if you like, and serve with lemon wedges for squeezing. That zing of lemon really brightens up the flavors!
Prep notes: If you’re making a big batch, keep cutlets warm in a low oven (200°F/95°C) on a wire rack so they stay crisp. If your coating isn’t sticking, double-check that the chicken is dry and you’re pressing the breadcrumbs on well. If you accidentally overcook a piece (we’ve all been there), slice it thin and serve with a drizzle of olive oil—it’ll still be tasty.
Cooking Tips & Techniques
- Pound Evenly: Don’t skip this! Even thickness means even cooking and tender chicken. I once rushed this step—big mistake. Some pieces were dry, others undercooked. Lesson learned.
- Breadcrumb Blend: Mixing panko with Italian breadcrumbs gives you the best of both worlds: crunch and flavor. If you only have one, it’ll still work, but the texture is next-level with both.
- Keep Oil Hot (but not smoking): If your oil isn’t hot enough, the cutlets get oily and soggy. Too hot, and the outside burns before the inside cooks. Medium to medium-high is your friend—adjust as you go.
- Don’t Crowd the Pan: Give each cutlet space. Crowding lowers the oil temp and leads to uneven browning. I do mine in two batches, even if it means an extra pan wash.
- Use Tongs for Turning: Flipping with a fork can tear the crust. Tongs keep your cutlets intact and your fingers safe.
- Rest on a Wire Rack: If you want super-crispy cutlets, let them rest on a rack (not paper towels) so air circulates underneath. This is a trick I learned after soggy-bottomed cutlets made me sad one too many times!
- Parmesan Power: Use freshly grated cheese for best flavor and binding. Pre-shredded doesn’t melt the same way.
Multitasking tip: While the first batch cooks, set up your serving platter and lemon wedges. You’ll be ready to eat as soon as the last cutlet leaves the pan. I like to set out a little bowl of extra chopped basil or even a drizzle of balsamic glaze for guests who want to customize their plate.
Variations & Adaptations
- Gluten-Free: Swap all-purpose flour for almond flour and use gluten-free breadcrumbs. The result is just as crisp—I’ve made these for a celiac friend and everyone devoured them.
- Spicy Kick: Add 1/2 teaspoon crushed red pepper flakes to the breadcrumb mixture. Sometimes I’ll add a pinch of cayenne if I’m in the mood for heat.
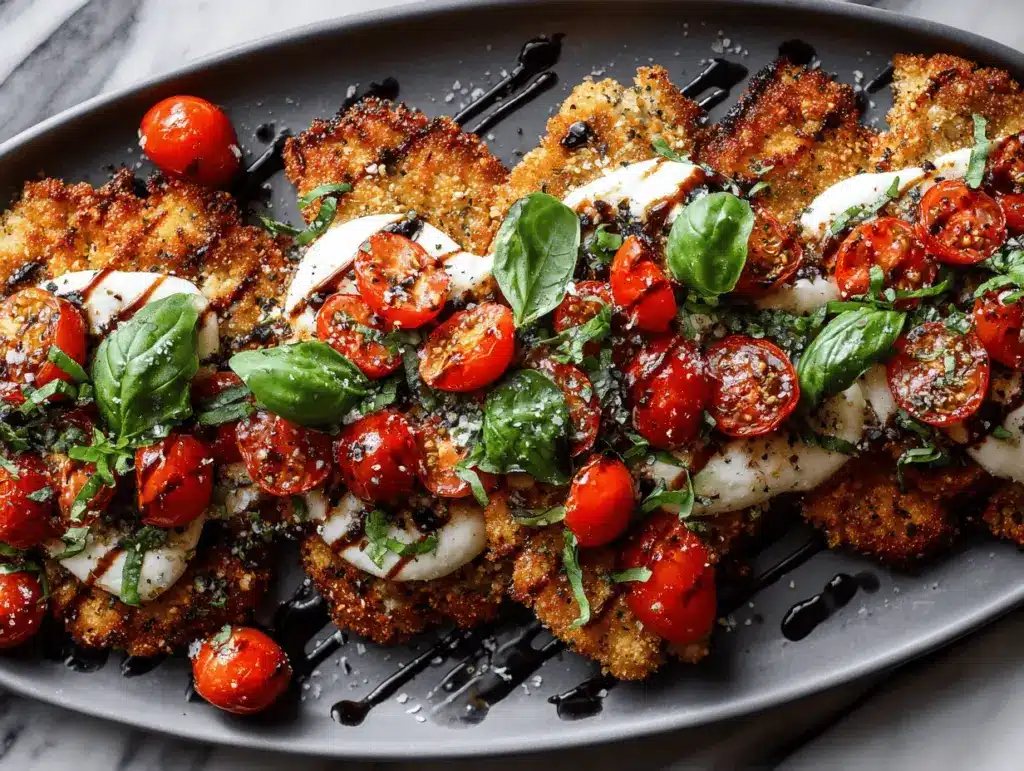
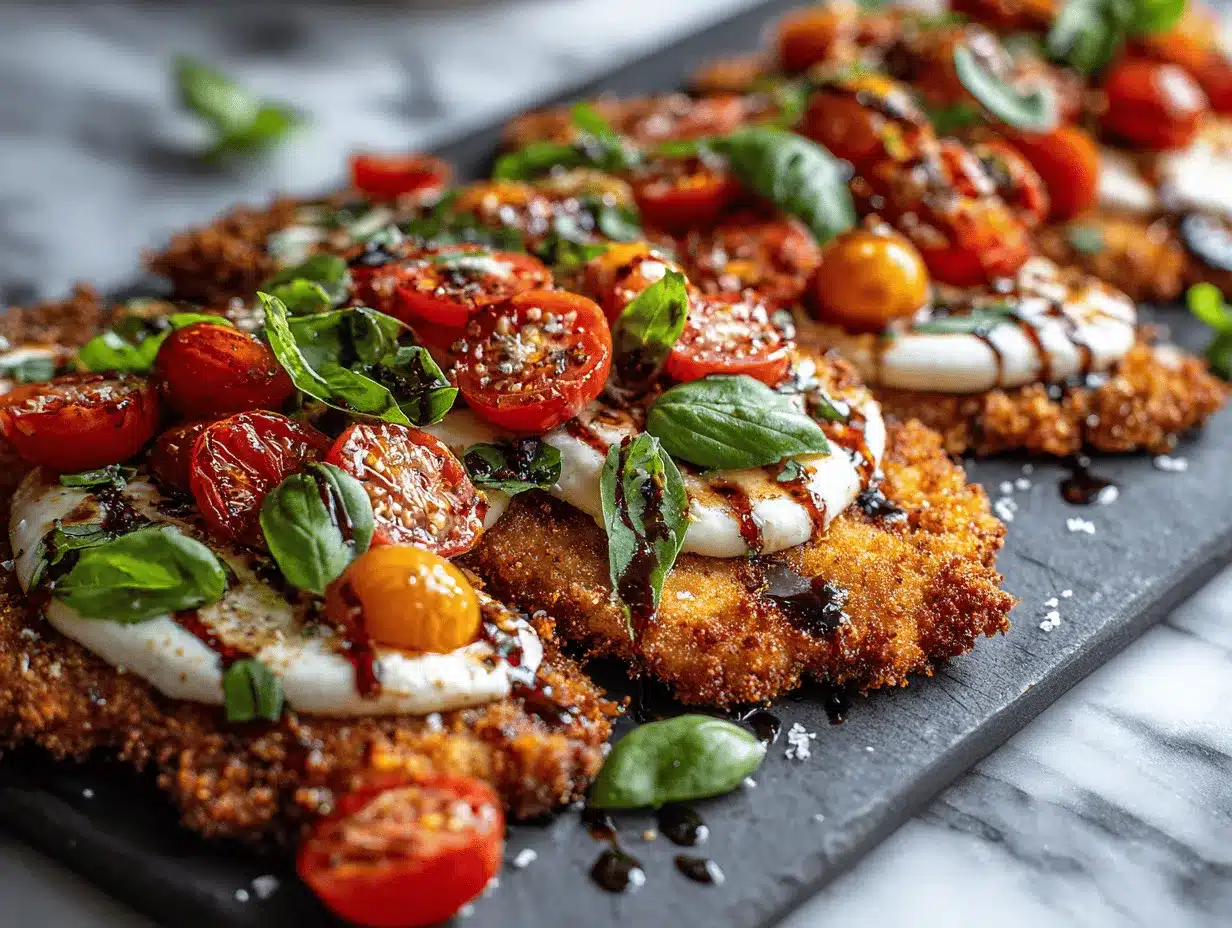
- Caprese Chicken Cutlets: Top hot cutlets with a slice of fresh mozzarella and tomato, then broil for one minute until melty. Add a drizzle of balsamic glaze for the full effect—my family’s summer favorite!
- Lemon-Basil Variation: Add 1 teaspoon fresh lemon zest to the breadcrumb mixture and serve with extra lemon wedges. The citrus makes the flavors pop.
- Air Fryer Option: Preheat your air fryer to 400°F (200°C). Spray cutlets lightly with oil and cook in batches for 8-10 minutes, flipping halfway. You’ll get a lighter, equally crispy result.
- Dairy-Free: Omit the Parmesan or use a dairy-free cheese alternative. The basil still shines through.
I’ve even tried making these with turkey cutlets around Thanksgiving—they’re a fun (and lighter) alternative to classic breaded turkey. If you want to pack in more veggies, layer the cutlets with sautéed spinach or roasted red peppers before serving.
Serving & Storage Suggestions
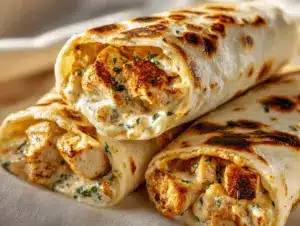
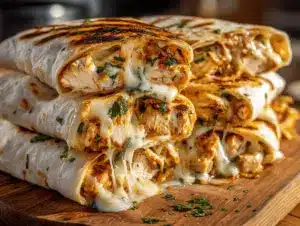
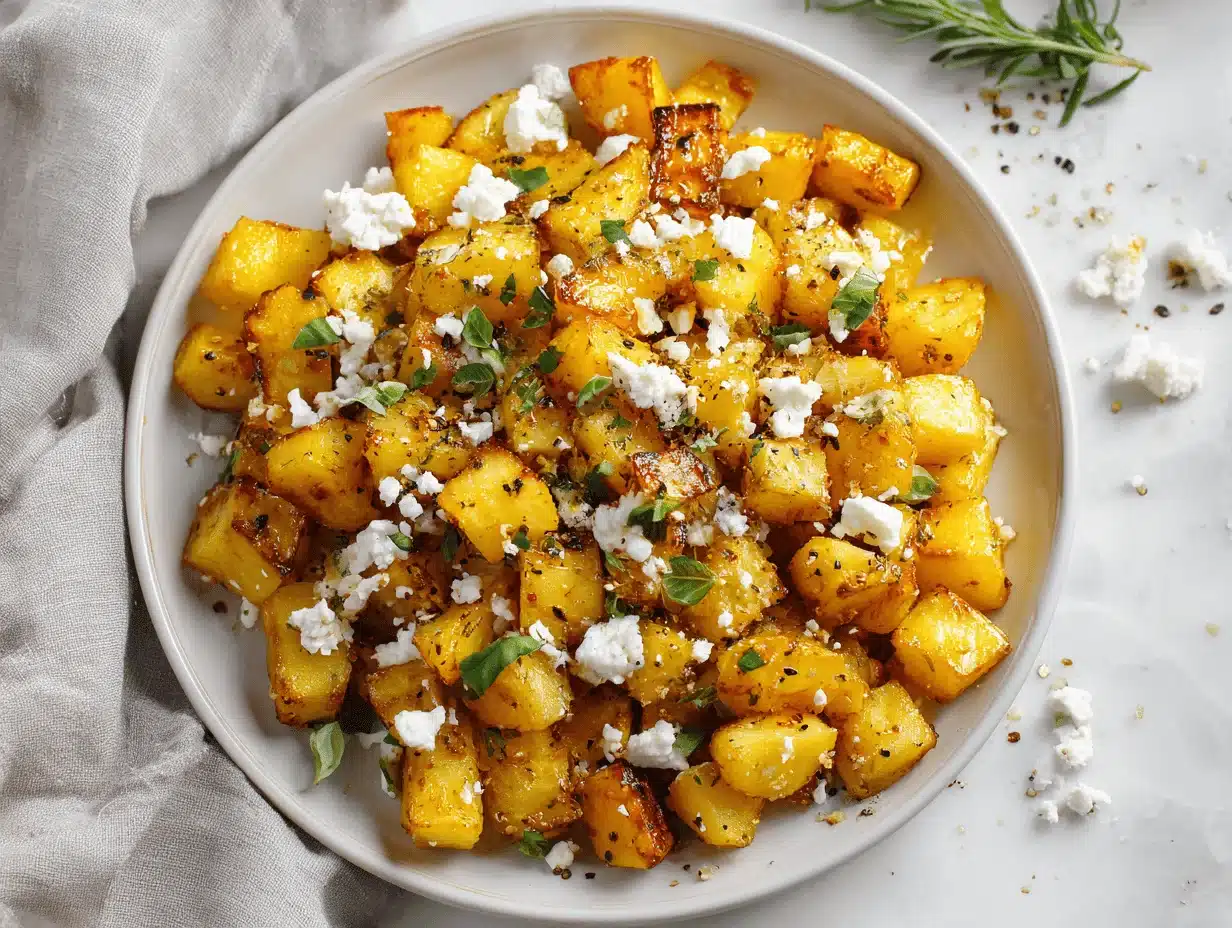
These Italian basil chicken cutlets are best served hot and crisp, straight from the skillet. I love arranging them on a big platter with lemon wedges and a sprinkle of extra basil. For an Italian bistro vibe, serve alongside a simple arugula salad, garlicky green beans, or buttery roasted potatoes. They’re amazing tucked into crusty rolls with a swipe of pesto, too!
If you have leftovers (it happens, but rarely!), let the cutlets cool completely. Store in an airtight container in the fridge for up to 3 days. To reheat, place them on a baking sheet in a 375°F (190°C) oven for 10 minutes, or until hot and crispy again. Skip the microwave—it makes the crust soggy. You can also freeze cooked cutlets: wrap individually and freeze for up to 2 months. Thaw in the fridge before reheating in the oven.
The flavors deepen as they sit, so even cold, these cutlets make a delicious next-day sandwich. Sometimes I’ll slice leftovers over a bed of pasta tossed with olive oil, lemon, and more fresh basil. Quick, easy, and oh-so-satisfying!
Nutritional Information & Benefits
Each Italian basil chicken cutlet (based on 6 servings) has roughly:
- Calories: 320
- Protein: 29g
- Carbs: 18g
- Fat: 15g
Chicken breast is an excellent lean protein source, while basil brings antioxidants and a fresh, herbal boost. Parmesan adds calcium and flavor with less fat than most cheeses. You can easily make this recipe gluten-free or dairy-free, and it’s naturally low in sugar. If you have nut allergies, just stick to classic flour and breadcrumbs. For a lighter version, try baking or air frying—still crispy, just less oil. Honestly, these cutlets fit right into my goal of balanced, feel-good meals that don’t sacrifice flavor.
Conclusion
If you’re craving something crispy, herby, and just downright comforting, these Italian basil chicken cutlets are the answer. They’re quick to make, endlessly adaptable, and guaranteed to win over even picky eaters. Whether you serve them as a main dish, slice them over salad, or stuff them into a hearty sandwich, you’ll taste the love and care in every bite. This recipe has become one of my go-to dinners, and I hope it becomes a favorite in your kitchen too.
Give them a try, play around with the variations, and make it your own. I’d love to hear how you serve yours—drop a comment, share a photo, or let me know your favorite twist on these classic cutlets!
Happy cooking—your next crispy Italian dinner is just 30 minutes away!
Frequently Asked Questions
Can I bake Italian basil chicken cutlets instead of frying?
Yes! Arrange breaded cutlets on a wire rack set over a baking sheet, spray lightly with olive oil, and bake at 425°F (220°C) for about 15-18 minutes, flipping halfway. They’ll be golden and crisp with less oil.
What’s the best way to keep the cutlets crispy?
Let them rest on a wire rack after frying so air circulates underneath. If you stack them or cover with foil, steam will soften the crust—so serve promptly for best crunch.
Can I use chicken thighs instead of breasts?
Absolutely! Boneless, skinless thighs make slightly juicier cutlets. Just pound to even thickness and add a minute or two to cooking time.
How do I make this recipe gluten-free?
Swap all-purpose flour for almond flour or gluten-free blend, and use gluten-free breadcrumbs. The rest of the recipe stays the same—still delicious and crispy!
Can I prepare the cutlets ahead of time?
You can bread the chicken up to a day in advance and refrigerate, covered. Fry just before serving for maximum crunch. Leftovers reheat best in the oven, not the microwave.
Pin This Recipe!
Italian Basil Chicken Cutlets
- Total Time: 30 minutes
- Yield: 6 servings 1x
Description
These Italian basil chicken cutlets are juicy inside, shatteringly crisp outside, and bursting with herby basil and Parmesan flavor. Quick to make and endlessly adaptable, they’re perfect for a weeknight dinner or a special occasion.
Ingredients
- 1.5 lbs boneless, skinless chicken breasts (about 2–3 breasts), sliced in half horizontally
- Salt and black pepper, to taste
- 1/2 cup all-purpose flour
- 2 large eggs, beaten
- 1 cup panko breadcrumbs
- 1 cup Italian-style breadcrumbs
- 1/2 cup fresh basil leaves, finely chopped (packed)
- 1/3 cup freshly grated Parmesan cheese
- 1 teaspoon garlic powder
- 1/3 cup olive oil (for frying)
- Lemon wedges, for serving
Instructions
- Place each chicken breast on a cutting board. With your hand flat on top, carefully slice horizontally to create two thin cutlets. Pat dry with paper towels and season both sides with salt and pepper.
- Cover the chicken pieces with plastic wrap and gently pound to about 1/3-inch thickness.
- Set up three shallow bowls: one with flour, one with beaten eggs, and one with a mixture of panko, Italian breadcrumbs, chopped basil, Parmesan, and garlic powder.
- Working one at a time, coat each cutlet lightly in flour, tapping off excess. Dip into the beaten eggs, then press firmly into the breadcrumb mixture to coat both sides. Place finished cutlets on a plate.
- Pour olive oil into a large skillet and heat over medium to medium-high until shimmering (about 2-3 minutes). Test with a breadcrumb; it should sizzle.
- Working in batches, lay cutlets in the hot oil. Fry 2-3 minutes per side, or until golden brown and crisp. The center should read 165°F (74°C). Transfer to a paper towel-lined plate and sprinkle lightly with salt.
- Repeat with remaining cutlets, adding more oil if needed and wiping out the pan if oil gets too dark.
- Serve cutlets on a platter with extra basil and lemon wedges for squeezing.
Notes
For gluten-free, use almond flour and gluten-free breadcrumbs. For dairy-free, omit Parmesan or use a dairy-free alternative. Keep cutlets warm in a low oven on a wire rack if making a large batch. Resting cutlets on a rack keeps them crisp. Air fryer and baked options work well for lighter versions.
- Prep Time: 15 minutes
- Cook Time: 15 minutes
- Category: Main Course
- Cuisine: Italian
Nutrition
- Serving Size: 1 cutlet (1/6 of recipe)
- Calories: 320
- Sugar: 1
- Sodium: 480
- Fat: 15
- Saturated Fat: 3
- Carbohydrates: 18
- Fiber: 1
- Protein: 29
Keywords: chicken cutlets, Italian chicken, basil chicken, crispy chicken, easy dinner, weeknight meal, pan-fried chicken, Parmesan chicken, family dinner, gluten-free option