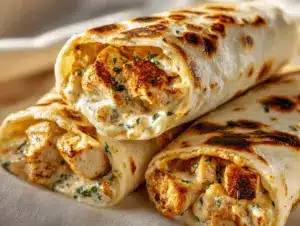
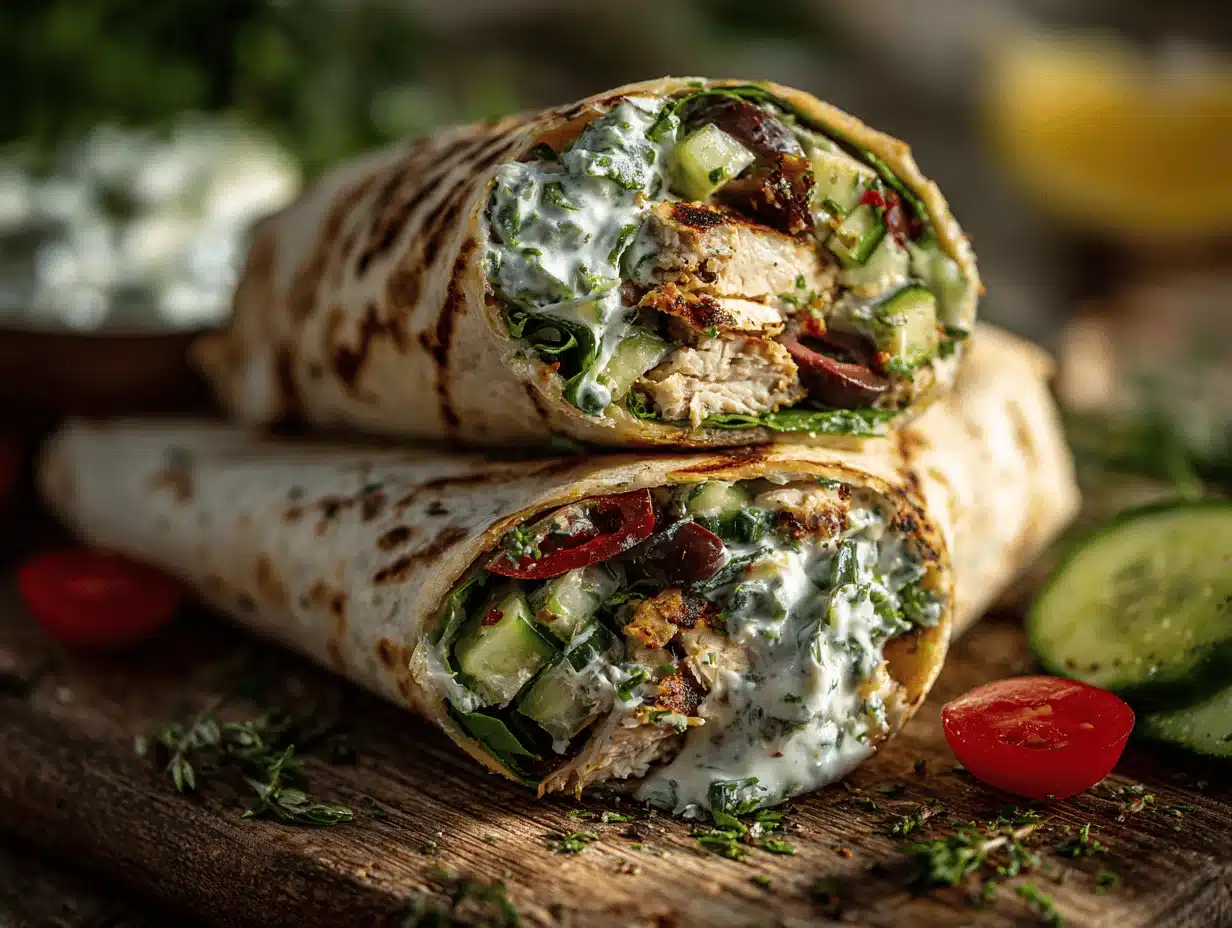
Cheesy garlic chicken wraps might just be the answer to every quick-dinner prayer. The moment that garlicky aroma hits the kitchen, my family magically appears, noses twitching, asking how soon dinner will be ready. These wraps are the kind of meal that feels way fancier than it actually is—gooey cheese, juicy chicken, and that irresistible hit of garlic, all snuggled up in a soft tortilla. Honestly, it’s comfort food, but you don’t need hours or a pile of fancy ingredients to pull it off.
I first started making cheesy garlic chicken wraps on a hectic Tuesday night. We’d just gotten home late, and I needed something filling but fast. I grabbed some leftover rotisserie chicken, tossed in a few handfuls of cheese, and let’s just say the rest is history. Since then, I’ve tweaked and tested this recipe a dozen different ways, always coming back to this flavor-packed, speedy combo. Whether you’re cooking for picky kids, ravenous teens, or just want a no-fuss dinner for yourself, these wraps never disappoint.
Let’s face it, sometimes we all just need dinner to be easy, affordable, and (most importantly) delicious. That’s exactly what you get with these cheesy garlic chicken wraps. You can make them in under 20 minutes—no joke!—and they’re totally customizable. Plus, they’re perfect for meal prepping, lunchboxes, or even a midnight snack. After so many trial runs (and happy taste-testers), I can vouch: this cheesy garlic chicken wraps recipe is the weeknight hero you’ve been searching for.
Why You’ll Love This Cheesy Garlic Chicken Wraps Recipe
There’s a reason I keep coming back to these wraps, and it’s not just because they disappear as soon as they hit the table. Here’s what makes this cheesy garlic chicken wraps recipe such a crowd-pleaser (and my personal dinner-time lifesaver):
- Quick & Easy: You can whip these up in 20 minutes flat, which is perfect when you’re running low on time or patience. No marathon prep session required.
- Simple Ingredients: No need for anything fancy—just chicken, cheese, garlic, and a few pantry basics. I bet you already have most of it on hand.
- Perfect for Any Occasion: They’re ideal for busy weeknight dinners, casual get-togethers, or even those lazy weekend lunches. They’re also a hit at potlucks and parties (just slice them and serve as pinwheels!).
- Crowd-Pleaser: Kids, adults, even picky eaters love these. The combination of melty cheese and flavorful chicken is hard to resist.
- Unbelievably Delicious: Between the gooey cheese, garlicky kick, and golden-crisp tortillas, every bite is comforting in the best possible way.
What really sets this recipe apart from the usual chicken wraps? It’s all about that garlicky cheese sauce—rich, creamy, and full of flavor. I blend the garlic right into the cheese mixture for an even flavor distribution (no more biting into a raw garlic chunk, yikes!). Plus, I use shredded rotisserie chicken, which keeps things juicy and shaves off loads of prep time. You can even switch up the cheeses or add a sprinkle of fresh herbs if you want to play around.
For me, this recipe isn’t just a quick fix—it’s a comfort meal that delivers every single time. It’s the kind of dinner you look forward to all day. You’ll love it for its simplicity, but you’ll make it again and again for that unbeatable taste and the happy faces around your table. Trust me, you’ll be hooked after the first bite.
What Ingredients You Will Need
This recipe uses simple, wholesome ingredients to deliver bold flavor and satisfying texture without the fuss. Most of these are pantry staples, and you can tweak or swap as needed depending on your preferences or what’s in the fridge.
- Cooked Chicken (2 cups, about 250g, shredded or diced): Rotisserie chicken is my favorite for convenience, but any leftover cooked chicken works. You can use grilled, baked, or even poached chicken—just make sure it’s not too dry.
- Flour Tortillas (4 large, 10-inch/25cm): Soft and pliable tortillas are best for wrapping. You can use whole wheat, low-carb, or gluten-free tortillas if needed.
- Shredded Cheese (1 ½ cups/170g): I usually go for a blend of mozzarella and sharp cheddar for that stretchy, melty goodness. Monterey Jack or Colby Jack also work well. Use what you love!
- Fresh Garlic (3 cloves, minced): The star of the show! Fresh garlic gives these wraps their signature punch. If you’re not a garlic fan, you can dial it back to 1-2 cloves, but honestly, 3 is perfect for that classic flavor.
- Cream Cheese (4 oz/115g, softened): This makes the filling creamy and helps everything stick together. I like to use full-fat for extra richness, but low-fat or dairy-free versions are totally fine.
- Chopped Fresh Parsley (2 tablespoons): Adds a pop of color and a little fresh taste. You can swap in cilantro or skip it if you’re in a pinch.
- Butter (2 tablespoons/30g, melted): For brushing on the outside of the wraps before toasting. It gives you that gorgeous golden crust and helps the garlic flavor shine.
- Salt & Black Pepper (to taste): I like to add a pinch to the filling and a little more on top after toasting.
- Optional Add-Ins:
- Red Pepper Flakes: For a little heat.
- Sliced Green Onions: For crunch and mild onion flavor.
- Spinach Leaves: For a veggie boost—just toss a handful into each wrap before rolling.
Ingredient Tips: For the best cheesy garlic chicken wraps, use fresh garlic over jarred or powdered. If you’re dairy-free, swap in vegan cheese and a plant-based cream cheese (I’ve done this for a friend—it works!). Gluten-free tortillas are a solid option if you avoid wheat. And if you’re short on fresh chicken, canned chicken or turkey breast will do in a pinch (just drain well and season up).
Equipment Needed
The beauty of these cheesy garlic chicken wraps is that you don’t need a kitchen full of gadgets. Here’s what you’ll want to have ready:
- Mixing Bowl: For tossing together the chicken, cheese, and garlicky goodness. Any medium bowl will do.
- Spatula or Wooden Spoon: For mixing the filling. A sturdy spoon helps mash the cream cheese evenly.
- Small Microwave-Safe Bowl: For melting the butter. You can also do this on the stovetop if you prefer.
- Brush or Spoon: For spreading the melted butter on the wraps. I’ve used the back of a spoon plenty of times—works just fine!
- Large Skillet or Nonstick Frying Pan: For toasting the wraps. Cast iron gives the crispiest finish, but any nonstick pan will get the job done.
- Knife & Cutting Board: For mincing garlic and slicing cooked chicken if needed.
- Measuring Cups & Spoons: To keep things accurate, especially with the cheese and cream cheese (though I’ll admit, sometimes I eyeball it when in a rush).
- Tongs or Spatula: For flipping the wraps in the pan without tearing them.
If you don’t have a brush for the butter, just use clean fingers or a spoon—it’s a little messier, but it works! Budget-friendly tip: you can toast the wraps in a sandwich press or even bake them in the oven (though you lose a bit of that pan-fried crunch). Keep your skillet well-seasoned or lightly oiled if it’s prone to sticking. Trust me, scraping off stuck-on cheese is no fun!
Preparation Method
- Prepare Ingredients: Gather all ingredients. Shred or dice 2 cups (about 250g) of cooked chicken. Mince 3 garlic cloves. Chop 2 tablespoons of fresh parsley. Set out 4 large flour tortillas (10-inch/25cm), 1 ½ cups (170g) shredded cheese, and 4 oz (115g) cream cheese, softened.
- Make the Cheesy Garlic Filling: In a medium mixing bowl, combine the shredded chicken, shredded cheese, minced garlic, softened cream cheese, and chopped parsley. Add a pinch of salt and black pepper. If using, toss in red pepper flakes or green onions. Stir with a spatula or wooden spoon until everything’s evenly mixed—aim for a sticky, cheesy mash. Troubleshooting tip: If the filling is too thick, microwave for 10–15 seconds to soften the cheese mixture.
- Fill the Wraps: Lay out a tortilla on a clean surface. Scoop about ½ cup (generous handful) of the chicken-cheese filling onto the lower third of the tortilla. Spread it out, leaving about 1 inch (2.5 cm) from the edges.
- Roll and Seal: Fold in the sides of the tortilla, then roll tightly from the bottom, like you’re making a burrito. Place seam-side down. Repeat with remaining tortillas and filling.
- Brush with Garlic Butter: Melt 2 tablespoons (30g) butter in a small bowl (microwave for 20-30 seconds). Stir in a pinch of minced garlic if you want extra garlic oomph. Brush the tops and sides of each wrap with the melted butter. (No brush? Use the back of a spoon or clean fingers—just get it nice and glossy.)
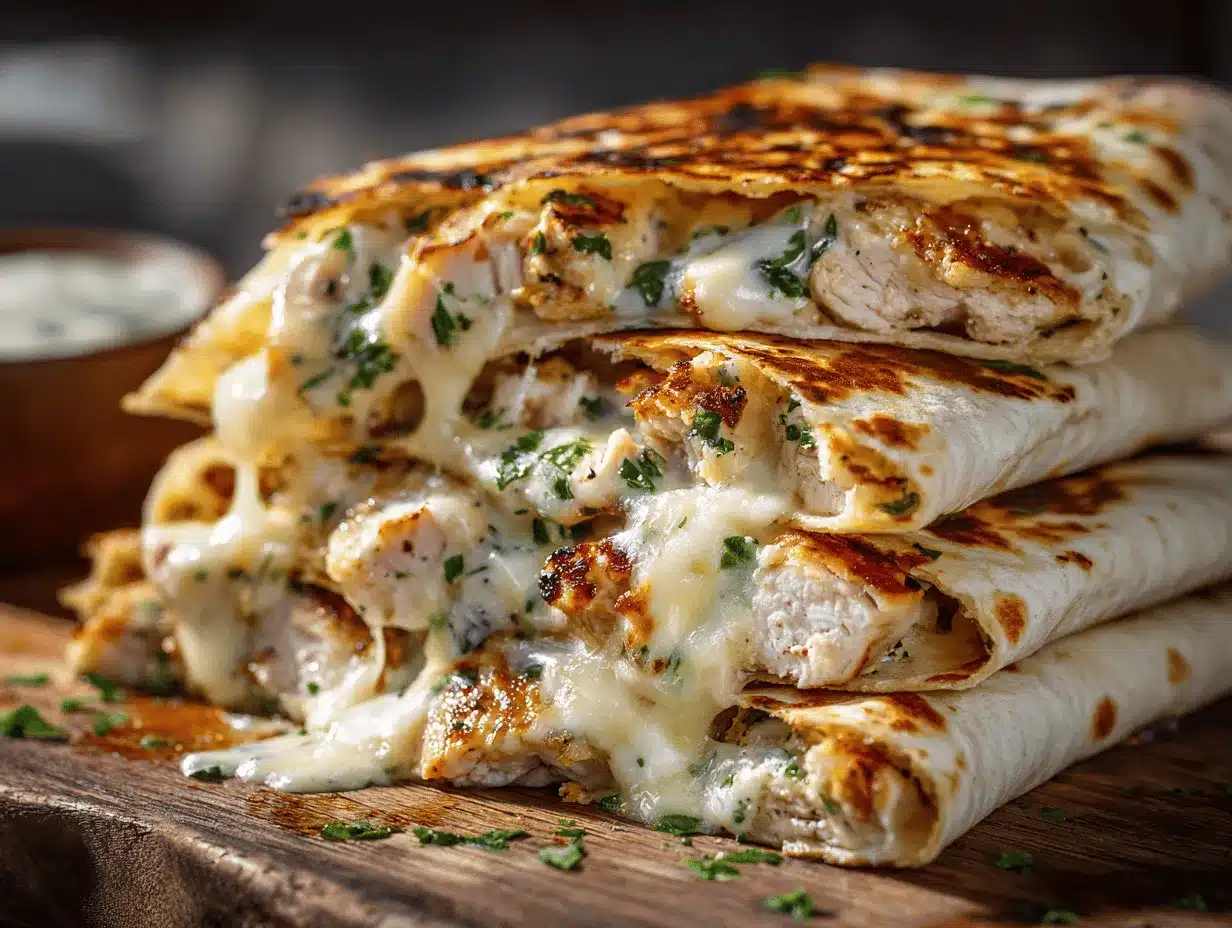
- Toast the Wraps: Heat a large skillet over medium heat. Place the wraps seam-side down. Cook for 2-3 minutes, pressing gently with a spatula, until golden and crisp. Flip and cook the other side for another 2-3 minutes. If your pan is small, toast in batches. Listen for a gentle sizzle and look for deep golden spots—if the cheese starts oozing out, you know it’s perfect.
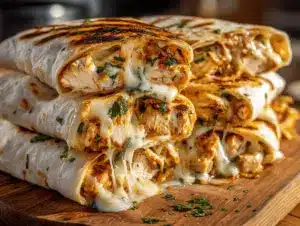
- Serve: Remove wraps from the skillet. Let cool for 1-2 minutes (they’re hot!). Slice in half on the diagonal for the classic “café” look. Sprinkle with extra parsley or a pinch of flaky sea salt if you like.
Preparation Notes: If your filling leaks during toasting, just tuck it back in with a spatula. The wraps can be assembled ahead and refrigerated, then toasted when you’re ready to eat. You can even freeze the un-toasted wraps for future meals—just thaw and toast straight from the fridge. My best tip: don’t skimp on the butter brushing. That’s what makes the outside crisp and golden—totally worth the extra step!
Cooking Tips & Techniques
After making these cheesy garlic chicken wraps more times than I can count, here are my best tips for nailing them every time:
- Don’t Overfill: It’s tempting to stuff these to the brim, but too much filling will make them hard to roll and messy to toast. Stick to about ½ cup per wrap for the best results.
- Seal Tightly: Fold in the sides as you roll to keep the cheesy goodness inside. If your tortillas keep popping open, warm them in the microwave for 10 seconds—they’ll be more flexible.
- Use Medium Heat: High heat might burn the tortillas before the cheese melts. Medium heat lets everything warm through and gives you that perfect golden crisp.
- Flip Gently: Use tongs or a spatula to turn the wraps. If cheese leaks, don’t panic—it’ll crisp up nicely and taste amazing.
- Make Ahead: Assemble the wraps and keep them in the fridge until you’re ready to toast. They’ll hold up for about 24 hours, making them a great prep-ahead option.
- Batch Cooking: If you’re making a bunch, keep toasted wraps warm in a low oven (200°F/90°C) until ready to serve. This is super handy for parties or feeding a crowd.
- Personal Fail: The first time I made these, I forgot to soften the cream cheese—talk about a lumpy mess! Take the cream cheese out early or give it a quick zap in the microwave for smooth mixing.
- Cheese Choices: Experiment with different cheese blends. Smoked gouda, fontina, or even pepper jack can totally change the vibe.
Trust me, after a couple of tries, you’ll find your rhythm and these wraps will become second nature. They’re forgiving, flexible, and always tasty—even if you take a shortcut or two.
Variations & Adaptations
One of the best things about cheesy garlic chicken wraps is how easy they are to customize. Here are some of my favorite ways to switch things up:
- Low-Carb or Gluten-Free: Use almond flour tortillas or your favorite gluten-free wraps. I’ve tried cauliflower wraps too—they’re surprisingly tasty and hold up well with the cheesy filling.
- Vegetarian Twist: Skip the chicken and use sautéed mushrooms, spinach, and extra cheese. You could also use cooked chickpeas or tofu for a protein boost.
- Spicy Kick: Mix in diced jalapeños, hot sauce, or a few shakes of cayenne pepper to the filling. Pepper jack cheese adds a great punch, too.
- Seasonal Add-Ins: In summer, toss in a handful of fresh corn or diced bell peppers. In winter, try roasted sweet potatoes or caramelized onions.
- Different Cooking Methods: If you don’t have a skillet, bake the wraps at 400°F (200°C) for 10-12 minutes, flipping halfway. Or use an air fryer at 370°F (190°C) for 6-8 minutes for extra crispiness.
- Personal Favorite: Sometimes I add a thin layer of pesto or sun-dried tomato spread for an herby, tangy twist. It’s a total flavor bomb!
- Allergen Adaptations: For dairy-free, swap in vegan cheese and plant-based cream cheese. Nut allergies? Stick to standard flour or corn tortillas; avoid almond-based options.
Don’t be afraid to get creative! The base recipe is solid, but what makes it fun is putting your own spin on it. I love hearing how others adapt these wraps to fit their diet or just to shake up the usual routine.
Serving & Storage Suggestions
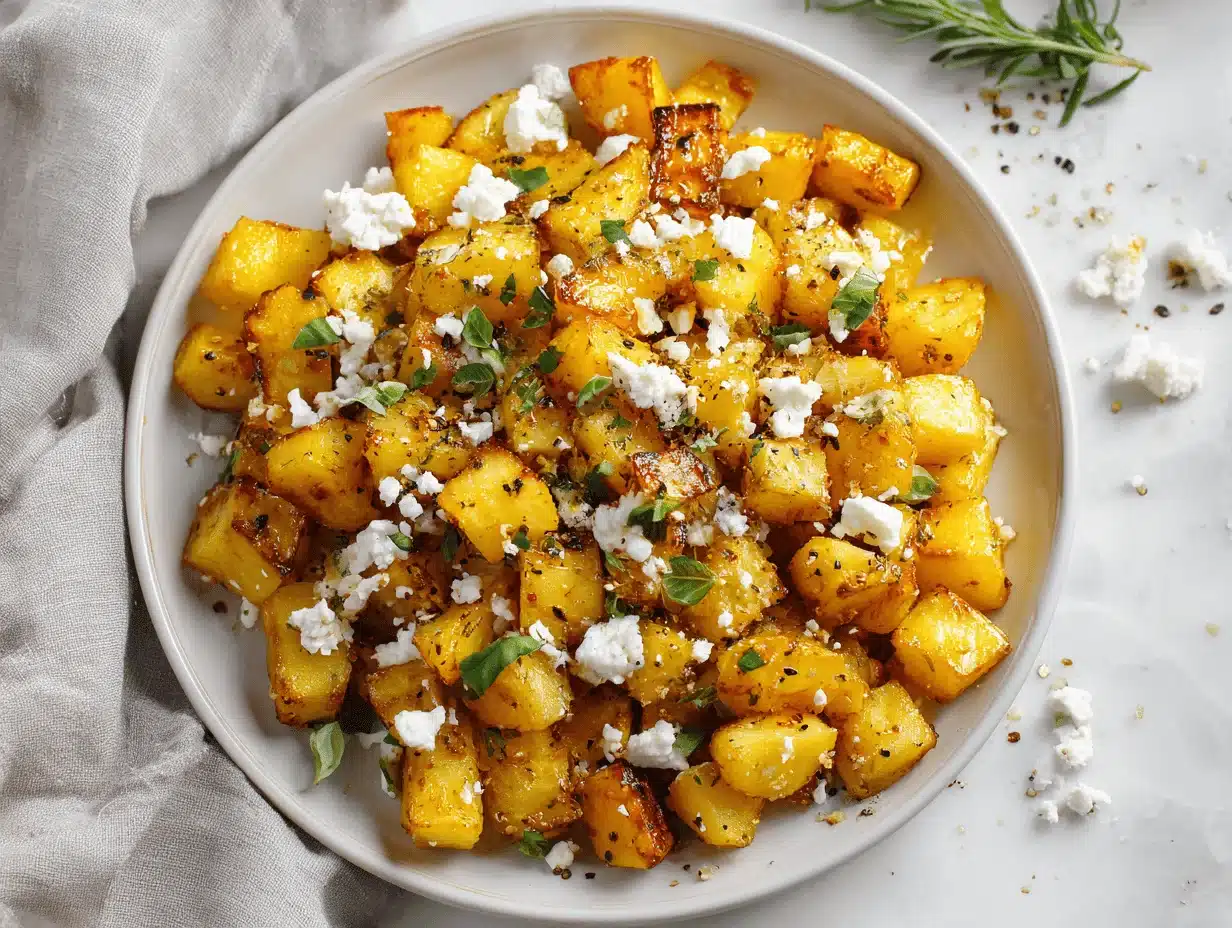
These cheesy garlic chicken wraps are best served hot, straight from the skillet, when the cheese is still gooey and the tortillas are crisp. Slice them in half or into pinwheels for a snackable, party-ready look. They pair perfectly with a simple green salad, crunchy coleslaw, or a bowl of tomato soup. For a heartier meal, serve with roasted potatoes or chips—and don’t forget a squeeze of lemon or a side of ranch for dipping!
Storing leftovers is easy. Let the wraps cool completely, then wrap tightly in foil or plastic wrap. Store in the refrigerator for up to 3 days. For longer storage, freeze the un-toasted wraps for up to 2 months—just thaw overnight in the fridge and toast as usual.
To reheat, pop wraps in a skillet over medium heat for 3-4 minutes per side until heated through and crisp. You can also use a toaster oven or air fryer for 4-5 minutes. Microwaving works in a pinch, but you’ll lose that signature crunch. Honestly, the flavor gets even better the next day as the garlic and herbs mingle—just another reason to make a double batch!
Nutritional Information & Benefits
Each cheesy garlic chicken wrap (using standard flour tortillas and full-fat cheese) has approximately:
- Calories: 420
- Protein: 28g
- Fat: 21g
- Carbohydrates: 28g
- Fiber: 2g
These wraps are a great source of protein from the chicken and cheese, making them filling enough for dinner or an on-the-go lunch. Garlic is known for its immune-boosting properties and anti-inflammatory effects, while parsley adds a dose of vitamin K and antioxidants. They’re easy to adapt for gluten-free or low-carb diets, and you can control the sodium by choosing low-salt cheese or making your own chicken. Allergens include dairy and wheat, so be sure to swap as needed. Personally, I love that this recipe delivers comfort-food flavor with a solid nutritional boost—no empty calories here!
Conclusion
If you’re looking for a dinner that’s fast, budget-friendly, and guaranteed to please, these cheesy garlic chicken wraps are the way to go. They’re easy enough for a weeknight but tasty enough to serve guests. I keep coming back to this recipe because it’s flexible, forgiving, and just downright delicious. Plus, it’s a fun way to clear out the fridge or use up leftover chicken.
I hope you’ll give these wraps your own twist—add your favorite veggies, try a new cheese blend, or spice things up to match your tastes. Personally, I love how these wraps bring everyone to the table (and usually leave no leftovers!).
Give this recipe a try, and if you love it, drop a comment or share your version with a friend. I’d love to hear how you make cheesy garlic chicken wraps your own! Happy cooking—and happy eating!
Frequently Asked Questions
Can I make cheesy garlic chicken wraps ahead of time?
Yes! You can assemble the wraps up to a day in advance and refrigerate them. Toast just before serving for the best texture.
What’s the best way to reheat leftover wraps?
Reheat in a skillet over medium heat until crisp and hot, about 3–4 minutes per side. You can also use a toaster oven or air fryer for a quick reheat.
Can I use pre-cooked or canned chicken?
Absolutely! Rotisserie chicken is my go-to, but canned chicken works in a pinch—just drain well and season to taste.
How do I make these wraps gluten-free?
Swap standard tortillas for gluten-free or grain-free wraps. Almond flour or corn tortillas are good options.
What cheese works best in this recipe?
Mozzarella and cheddar are classic, but feel free to use Monterey Jack, Colby, or pepper jack for a flavor boost. Use your favorite blend!
Pin This Recipe!
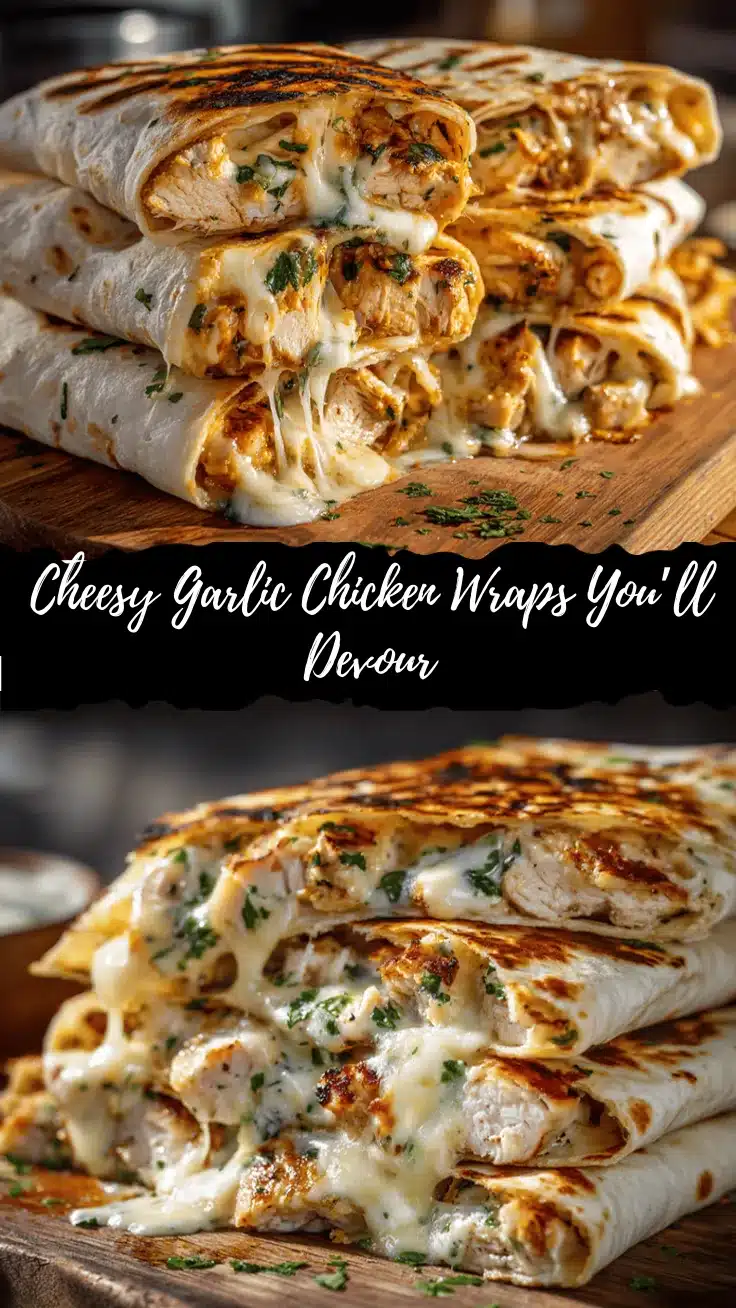

Cheesy Garlic Chicken Wraps
- Total Time: 18 minutes
- Yield: 4 wraps 1x
Description
These cheesy garlic chicken wraps are a quick, comforting dinner packed with juicy chicken, gooey cheese, and a punch of garlic, all wrapped in a golden, crispy tortilla. Ready in under 20 minutes, they’re perfect for busy weeknights, meal prep, or a satisfying snack.
Ingredients
- 2 cups cooked chicken (about 250g), shredded or diced
- 4 large flour tortillas (10-inch/25cm)
- 1 1/2 cups shredded cheese (mozzarella and sharp cheddar blend recommended, about 170g)
- 3 cloves fresh garlic, minced
- 4 oz cream cheese, softened (about 115g)
- 2 tablespoons chopped fresh parsley
- 2 tablespoons butter, melted (about 30g)
- Salt and black pepper, to taste
- Optional: red pepper flakes, to taste
- Optional: sliced green onions
- Optional: spinach leaves
Instructions
- Prepare all ingredients: shred or dice chicken, mince garlic, chop parsley, and set out tortillas, shredded cheese, and softened cream cheese.
- In a medium mixing bowl, combine chicken, shredded cheese, minced garlic, cream cheese, and parsley. Add salt and pepper to taste. Stir until evenly mixed. Add optional red pepper flakes or green onions if desired.
- Lay out a tortilla on a clean surface. Place about 1/2 cup of the filling onto the lower third of the tortilla and spread, leaving a 1-inch border.
- Fold in the sides of the tortilla, then roll tightly from the bottom to form a burrito shape. Place seam-side down. Repeat with remaining tortillas and filling.
- Melt butter in a small bowl. Optionally, stir in a pinch of minced garlic for extra flavor. Brush the tops and sides of each wrap with melted butter.
- Heat a large skillet over medium heat. Place wraps seam-side down and cook for 2-3 minutes, pressing gently with a spatula, until golden and crisp. Flip and cook the other side for another 2-3 minutes. Toast in batches if needed.
- Remove wraps from skillet and let cool for 1-2 minutes. Slice in half on the diagonal. Sprinkle with extra parsley or flaky sea salt if desired. Serve hot.
Notes
Do not overfill the wraps to prevent leaking. Warm tortillas in the microwave for 10 seconds if they are stiff. The wraps can be assembled ahead and refrigerated, then toasted when ready to eat. For a vegetarian version, substitute chicken with sautéed mushrooms, spinach, or chickpeas. Gluten-free or low-carb tortillas can be used as needed. For extra crispiness, try toasting in an air fryer or baking in the oven.
- Prep Time: 10 minutes
- Cook Time: 8 minutes
- Category: Main Course
- Cuisine: American
Nutrition
- Serving Size: 1 wrap
- Calories: 420
- Sugar: 3
- Sodium: 700
- Fat: 21
- Saturated Fat: 10
- Carbohydrates: 28
- Fiber: 2
- Protein: 28
Keywords: cheesy garlic chicken wraps, chicken wraps, easy dinner, quick meal, skillet wraps, comfort food, meal prep, rotisserie chicken, family dinner, lunch wraps